How to Tie a Pratt Knot (Shelby Knot)
Brief Description of the Pratt Knot (Shelby Knot)The Pratt knot is a symmetric tie knot with an average size. It is larger than the four-in-hand knot and smaller than the half-Windsor knot. It does not look too wide or too narrow. The Pratt knot looks neat and is suitable for most shirts and occasions. The drawback is that the back of the narrow end of the necktie faces up, which does not look good if it is not well hidden behind the wide end. Although Jerry Pratt invented this tie knot, it is sometimes called the Shelby knot, since Don Shelby wore it on television and some people mistakenly thought he was the inventor.
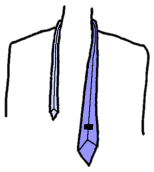
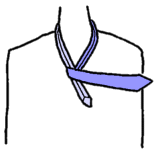
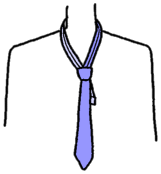
Instructions for Tying a Pratt Knot (Shelby Knot)The instructions for tying a Pratt knot (Shelby knot) are shown below. We assume that you are right-handed in the following instructions. The figures below are mirror images. They are what you will see if you stand in front of a mirror. 1. At the beginning, the wide end of the tie should be on your right side and the other end should be on your left side. Note that the tie should begin inside out.
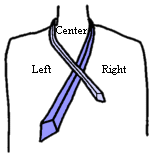
2. Cross the narrow end over the other end. Now three regions are formed (Left, Right and Center).
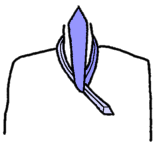
3. Bring the wide end up to Center.
4. Bring the wide end down to Left.
5. Bring the wide end over the knot to Right.
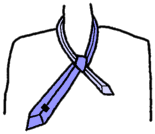
6. Bring the wide end under the narrow part from Right to Center.
7. Bring the wide end down and pass the loop in front. Ensure that the knot is tightened.
What Do You Want to Do Next?
Want to Help Us?
|
